AWS Self-Managed-ML Workshop > Distributed Training w/ AWS Batch MNP + Deepspeed + GPU > a. Create VPC and Subnets using Wizard
a. Create VPC and Subnets using Wizard
If you already have a VPC, Private Subnet w/ NAT Gateway and Public Subnet w/ IGW, please skip the step and proceed to the next step
In this step, you create the VPC, Private Subnet w/ NAT Gateway and a Public Subnet with the Internet Gateway (IGW). We will use the VPC wizard to set this up very quickly from the console.
Note: If you already have a VPC, Private Subnet w/ NAT Gateway and Public Subnet w/ IGW, please skip the step and proceed to the next step
Create VPC, Private and Public Subnet
- Log into your AWS Console
- Go to VPC and Create a VPC
- Use the option “VPC and more” to automatically create the Subnet in the correct zonea and the NAT/Internet Gateways
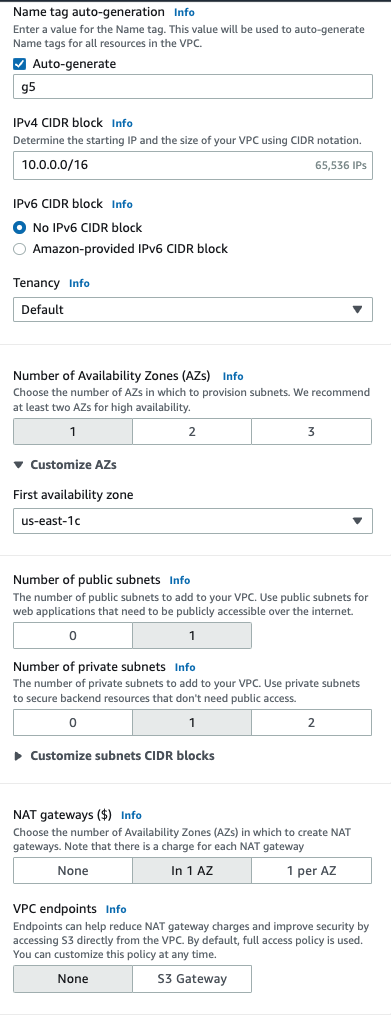
- Set the options as shown in the figure below. In this case we are setting
- IPv4 CIDR block
- 1 AZ and selecting a specific availability zone
- 1 Public Subnet and 1 Private Subnet
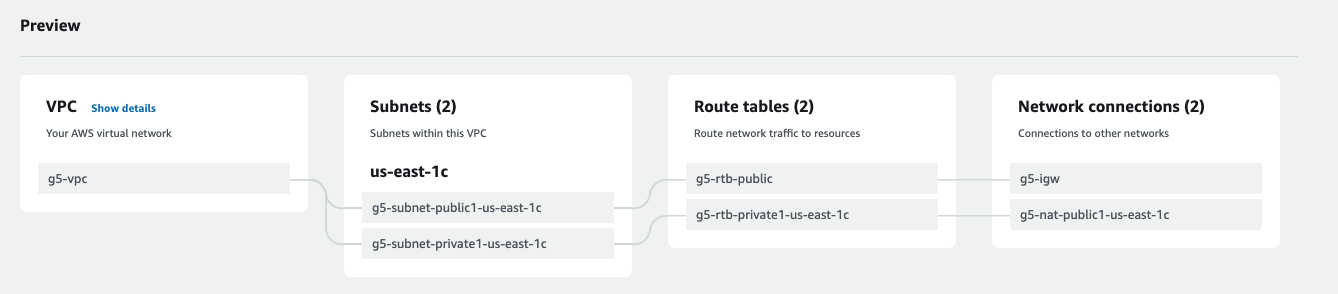
- The tree view shows the different entities that will be created graphically
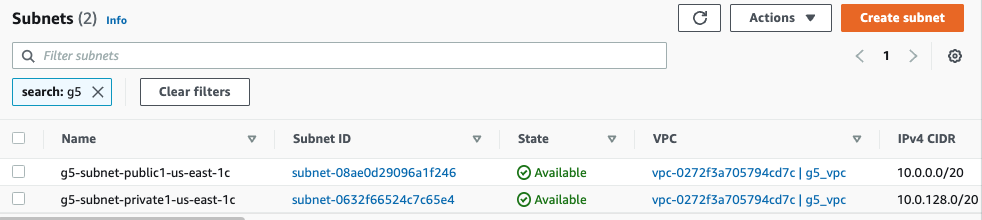
- Verify the VPC and Subnets created in the AWS Console. We would be be using their id’s to create the Cloud9, Elastic File System and AWS Batch Environment in the next step